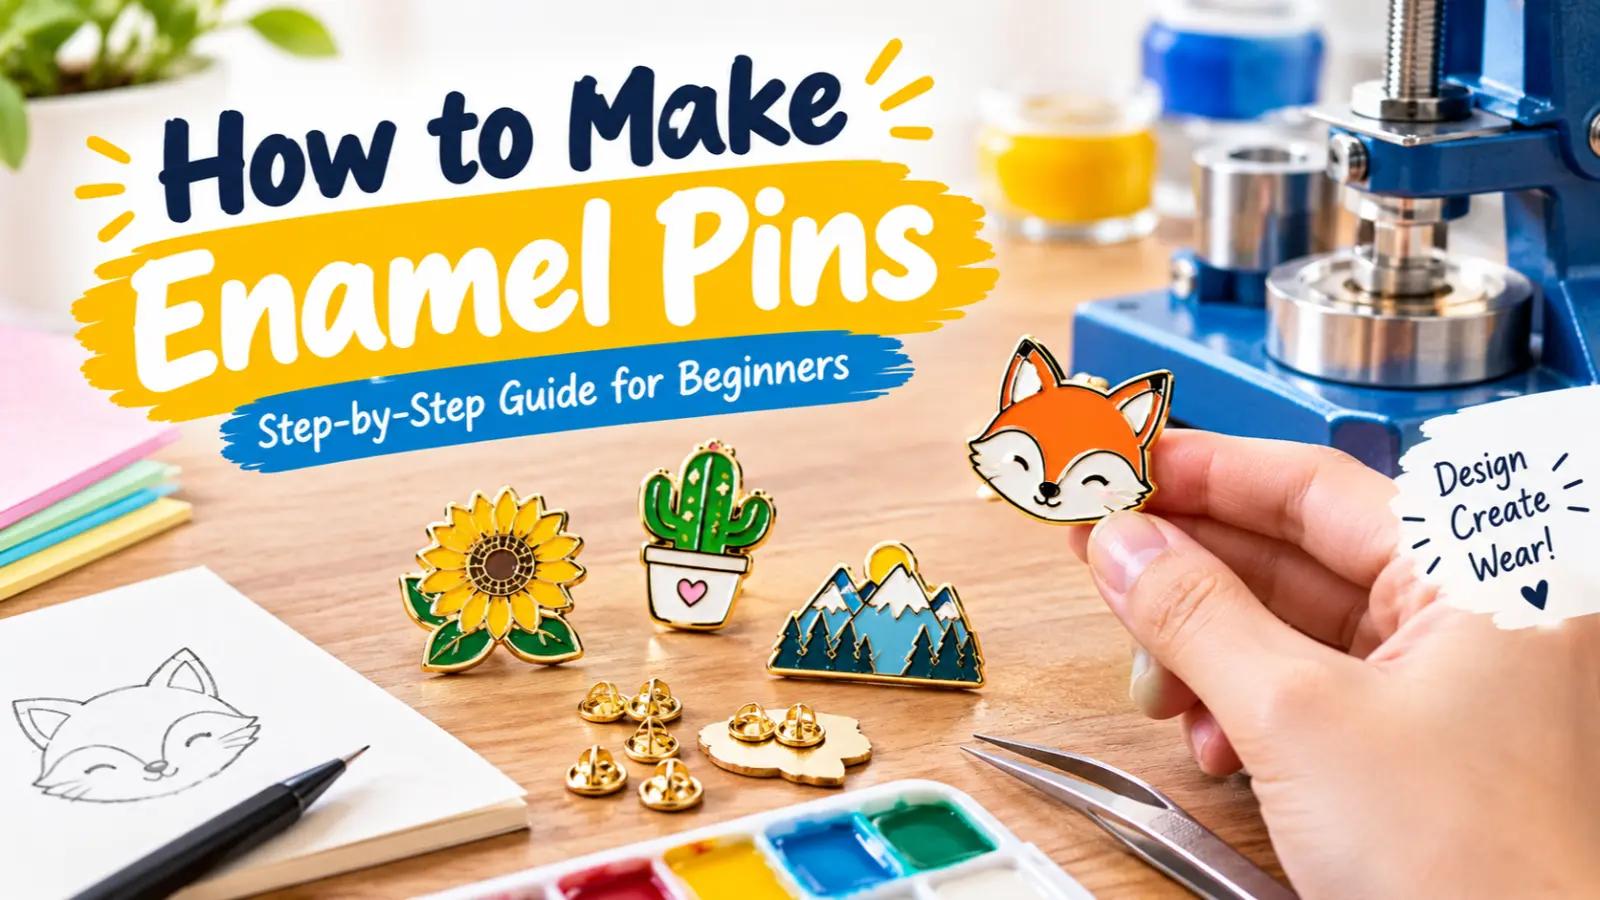
To make enamel pins, first create a simple, production-ready design, choose soft or hard enamel, decide on the size, metal plating, backing, and quantity, then send the artwork to a custom pin manufacturer.
After you approve the production proof, the manufacturer creates the metal mold, forms the pin, fills the enamel, cures and finishes it, and attaches the backing.
Key Takeaways
- Start with simple artwork using bold lines and clearly separated color areas.
- Choose soft enamel for a textured, recessed finish or hard enamel for a smooth, polished surface.
- A manufacturer usually handles the mold, metalwork, enamel filling, curing, and finishing.
- Always review the digital production proof before manufacturing begins.
- Homemade resin or shrink-plastic pins can look similar, but they are not the same as professionally manufactured enamel pins.
Decide What Kind of Enamel Pin You Want
Before creating artwork, decide what you want the finished pin to look and feel like.
The two common options are soft enamel and hard enamel. They start with similar metal construction, but the finishing process creates a noticeably different surface.
| Feature | Soft Enamel | Hard Enamel |
| Surface | Textured and recessed | Smooth and polished |
| Metal lines | Raised | Level with the surface |
| Appearance | Bold and dimensional | Clean and glossy |
| Cost | Usually more economical | Usually higher |
| Best for | Artwork, merch, collectibles | Premium merch, gifts, polished designs |
Soft Enamel Pins
Soft enamel has colored enamel sitting below the raised metal lines. You can normally feel the outlines when you run your finger across the pin.
This style works particularly well for bold artwork, logos, characters, club designs, and colorful merchandise.
Hard Enamel Pins
Hard enamel is filled and then polished so the enamel and metal are approximately level, creating a smooth surface.
It is often chosen when the finished pin needs a clean, polished appearance.
💡 Tip: If this is your first pin project, decide on the enamel type before finalizing your artwork because the desired finish can affect how the design is prepared.
Create an Enamel Pin-Friendly Design
Your artwork is one of the most important parts of the entire process.
An illustration that looks great on a computer screen may not translate well to a tiny metal pin. Enamel pins use metal lines to separate color areas, so your artwork needs to work as a physical object rather than just a digital image.
Keep the Artwork Simple
Most enamel pins are relatively small. That means tiny details, extremely thin lines, and complicated shading can become difficult to reproduce.
Instead:
- Use clear shapes.
- Reduce unnecessary details.
- Make important elements easy to recognize.
- Use strong outlines.
- Keep text large enough to remain readable.
- Avoid relying on subtle gradients.
A simple design is often easier for a manufacturer to reproduce accurately.
Use Bold Lines and Separated Colors
Think of your pin design somewhat like stained glass.
The metal lines separate individual color sections, while the recessed areas receive the enamel.
For example, a cartoon animal might have:
Metal outline → blue enamel → white enamel → black enamel
rather than a continuous painted illustration with shadows and gradients.
Choose the Right Artwork File
A manufacturer may accept different file types, but vector artwork is particularly useful because it can be scaled without losing sharpness.
Common formats include:
- AI
- EPS
- SVG
Some manufacturers can also work from raster artwork or sketches and recreate the production artwork for you. However, requirements vary, so confirm the accepted format before submitting your files.
⚠️ Important: Don’t approve artwork just because it looks good at full-screen size. Check how the smallest text, gaps, lines, and details will look at the actual pin size.
Choose the Pin Size, Metal, and Backing
Once your design is ready, decide how the physical pin should be produced.
Pick a Practical Size
Pin size affects both appearance and production.
A small pin may be convenient for jackets, hats, and small accessories, while a larger pin gives your artwork more room for details.
For a first project, ask the manufacturer to show your artwork at the actual finished size before production.
Choose the Plating
The metal surrounding the enamel becomes part of the visual design.
Depending on the manufacturer, you may be able to choose finishes such as:
- Gold
- Silver
- Black nickel
- Other specialty plating options
The available choices vary by manufacturer.
Select the Pin Backing
The backing keeps the finished pin attached to clothing, bags, hats, or other surfaces.
Common options include:
- Butterfly clutch
- Rubber clutch
- Locking backing
- Magnetic backing
The right choice depends on how the pin will be used.
📌 Key Takeaway: Don’t focus only on the front artwork. Size, plating, and backing can significantly change how the finished enamel pin looks and functions.
Find a Manufacturer and Request a Quote
For most beginners, professional manufacturing is the practical way to make actual enamel pins.
When requesting quotes, give manufacturers enough information to price the project accurately.
Include:
- Your artwork
- Pin type
- Pin dimensions
- Quantity
- Metal plating
- Number of colors
- Pin backing
- Packaging requirements
- Delivery location
- Desired deadline
Manufacturers may also have different minimum order quantities (MOQs), so don’t assume that every supplier accepts the same order size.
Current guides commonly recommend comparing manufacturers based on price, quality, communication, production time, and order requirements rather than choosing solely on the lowest quote.
Why the Production Proof Matters
After you submit your artwork and specifications, the manufacturer may send a digital proof.
This is your opportunity to check:
- Pin dimensions
- Artwork proportions
- Colors
- Metal lines
- Text
- Plating
- Backing placement
Read the proof carefully before giving final approval.
💡 Tip: Treat the production proof as the last major opportunity to catch an artwork problem before manufacturing begins.
Understand How Enamel Pins Are Manufactured
Knowing the manufacturing process makes it easier to communicate with a supplier.
The exact process can vary by manufacturer and pin style, but the general workflow looks like this.
1. The Mold Is Created
After the artwork is approved, the manufacturer creates a mold or die based on the design.
The mold defines the metal lines and recessed areas that will become the enamel sections.
2. The Metal Base Is Formed
The design is transferred to a metal base through a die-striking or related manufacturing process.
This creates the physical shape and raised/recessed structure of the pin.
3. The Metal Is Plated
The pin can receive the selected metal finish, such as gold, silver, or another plating option.
4. Enamel Is Added
Colored enamel is placed into the recessed sections of the design.
Different colors are separated by the metal boundaries created during manufacturing.
5. The Enamel Is Cured
The enamel is cured according to the manufacturer’s production process.
Soft enamel typically retains the recessed appearance, while hard enamel undergoes additional finishing.
6. Hard Enamel Is Polished
For hard enamel, the surface is filled and polished to create the characteristic smooth finish.
This additional finishing step is one reason hard enamel production can cost more than soft enamel.
7. Backings and Final Inspection
The manufacturer attaches the selected backing and checks the finished pins before packaging and shipping.
🔎 Key Takeaway: Making enamel pins professionally is a combination of design + metal manufacturing + enamel filling + finishing. Your job is mainly to create the artwork and specify exactly what you want; the manufacturer handles the industrial production.
How to Make Enamel Pins at Home
This question has an important distinction.
You can make pin-like DIY products at home, but making traditional, professionally manufactured enamel pins is much harder because the standard process involves specialized metalworking, molds, enamel application, curing, and finishing.
Some DIY guides use shrink plastic, printed artwork, or epoxy resin to create decorative pins that resemble enamel pins. These methods can be useful for crafts and prototypes, but they are not the same manufacturing process used for traditional die-struck enamel pins.
DIY Alternatives
If you want to experiment at home, you could create:
- Shrink-plastic pins
- Resin pins
- Printed pin designs
- Clay or sculpted pins
- Handmade decorative badges
These can be good for testing an idea before paying for a manufacturing run.
If your goal is to sell a traditional enamel pin with a professional metal-and-enamel construction, working with a manufacturer is generally the more practical route.
⚠️ Important: Don’t confuse a resin craft pin with a true enamel pin. They can look similar, but the materials and manufacturing processes are different.
Common Mistakes to Avoid
First-time pin makers often focus heavily on the illustration and overlook production limitations.
Avoid these mistakes:
Using Too Much Detail
Tiny details may disappear when the artwork is reduced to pin size.
Making Lines Too Thin
Very thin lines can be difficult to reproduce consistently. Ask your manufacturer to review line weights before production.
Using Complex Gradients
Traditional enamel works best with clearly separated color areas. Gradients and photographic effects may need to be simplified or replaced with printed elements.
Skipping the Proof
Never rush through the proofing stage.
Ordering Too Many Pins Immediately
If you’re testing a new design, consider whether you actually need a large initial quantity. A smaller test run can reduce the risk of being left with unwanted inventory, depending on the manufacturer’s MOQ.
Choosing Based Only on Price
A low quote doesn’t tell you everything about production quality, communication, packaging, or fulfillment.
How Much Does It Cost to Make Enamel Pins?
There isn’t one universal price for enamel pins.
Your final cost can depend on:
- Pin size
- Order quantity
- Soft vs. hard enamel
- Number of colors
- Metal plating
- Backing type
- Special effects
- Packaging
- Artwork preparation
- Shipping
- Manufacturer
Larger orders often change the per-pin economics, while additional finishing or more complex specifications can increase the total cost.
Because supplier pricing varies, the most useful way to compare quotes is to give each manufacturer the same specifications.
For example, don’t compare one supplier’s 100-piece soft-enamel quote with another supplier’s 100-piece hard-enamel quote and assume the difference is purely the manufacturer’s markup.
💡 Tip: Request quotes using identical specifications so you can make a meaningful comparison between manufacturers.
Frequently Asked Questions About Enamel Pins
How do you make enamel pins?
You create production-ready artwork, choose the enamel type, size, plating, quantity, and backing, then send the specifications to a manufacturer. After approving the proof, the manufacturer creates the metal mold, forms the pin, applies the enamel, cures and finishes it, and attaches the backing.
Can I make enamel pins at home?
You can make DIY pins using materials such as shrink plastic or resin, but traditional enamel pins require specialized manufacturing equipment and processes. If you want professionally manufactured metal enamel pins, using a custom pin manufacturer is generally the practical option.
What file do I need to make enamel pins?
Many manufacturers prefer vector artwork such as AI, EPS, SVG, or PDF because it preserves clean lines when the artwork is converted into a production design. However, file requirements differ, so check with your chosen manufacturer before submitting artwork.
Are hard enamel pins better than soft enamel pins?
Neither is automatically right for every project. Soft enamel has recessed color and raised metal lines, while hard enamel is polished to create a smooth surface. Your choice should depend on the appearance, feel, budget, and intended use of the pin.
How long does it take to make enamel pins?
Production time varies according to the manufacturer, order size, artwork complexity, and production schedule. Some current industry guides describe typical custom orders as taking roughly a few weeks after artwork approval, but you should confirm the current production and shipping timeline directly with your supplier.
What should I ask an enamel pin manufacturer?
Ask about MOQ, unit pricing, setup or mold fees, artwork requirements, proofing, production time, shipping, backing options, plating, sample availability, and what happens if the finished pins don’t match the approved proof.
Conclusion
Learning how to make enamel pins starts with a strong design, but the final product depends on much more than artwork.
You also need to choose between soft and hard enamel, select the size and metal finish, decide on the backing, compare manufacturers, and carefully approve the production proof.
For a professional enamel pin, the manufacturer handles the specialized metal and enamel production.
Your most important job is to create artwork that can be translated clearly into a small physical product and communicate your specifications accurately.
If you’re making your first pin, start with one simple design, confirm the production requirements with your manufacturer, and order a manageable quantity before scaling up.