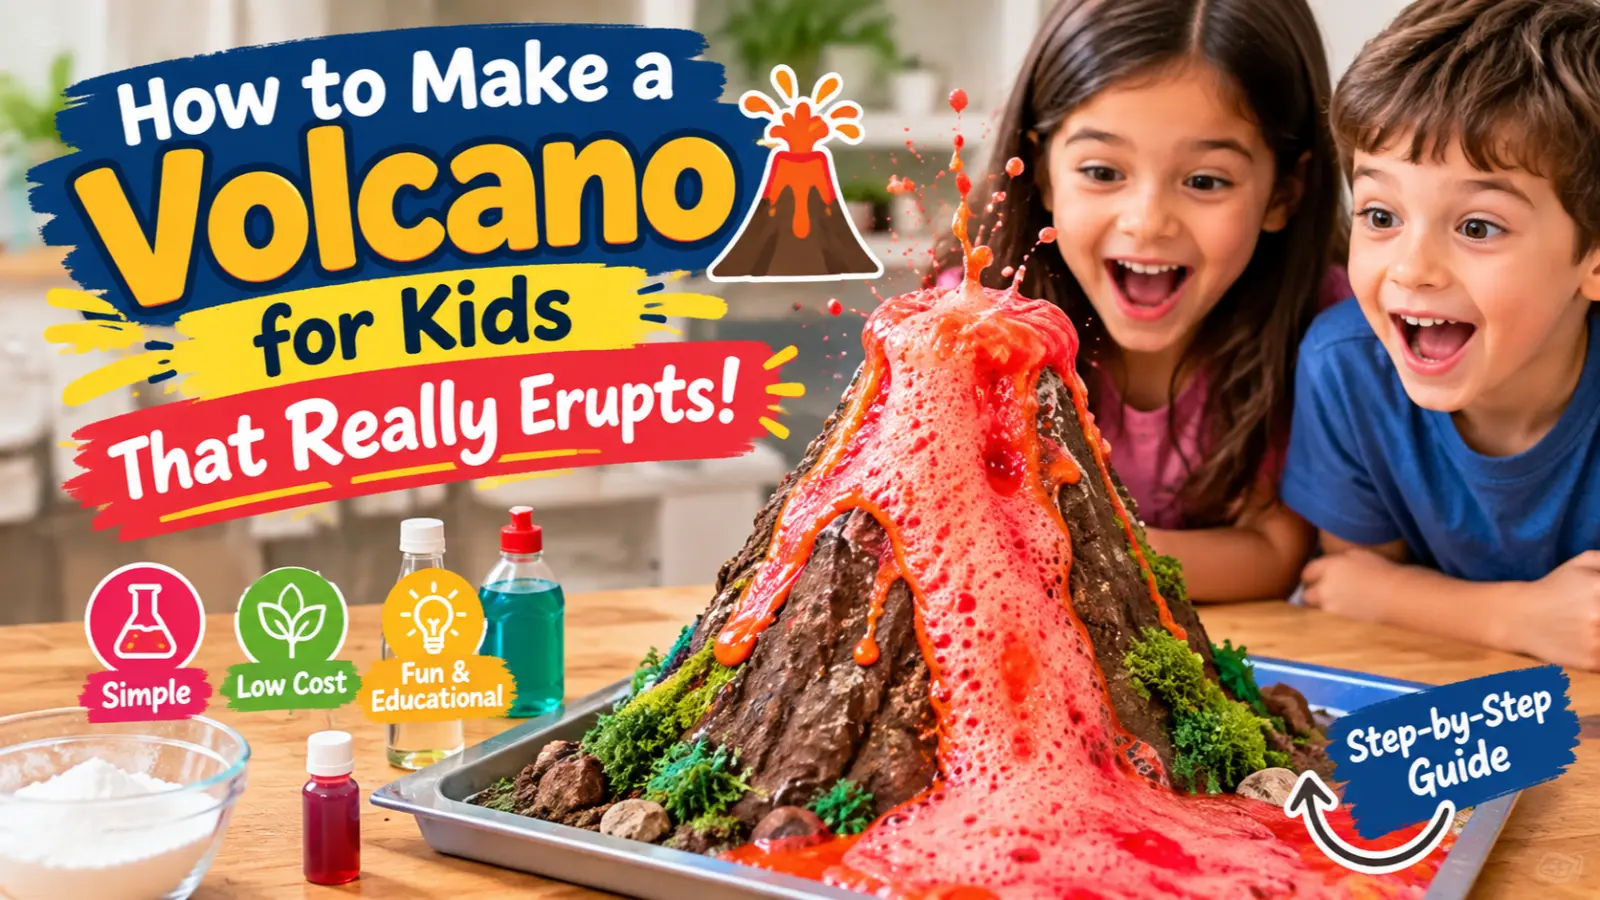
There’s something magical about watching a homemade volcano erupt for the first time-the fizzing, bubbling “lava” spilling down the sides, and the wide-eyed excitement on a kid’s face as chemistry turns into pure spectacle. It’s no wonder the baking soda volcano has been a favorite science activity for generations of parents, teachers, and curious kids.
But this classic project is more than just a fun mess (though it’s definitely that, too). It’s a hands-on introduction to real scientific concepts like chemical reactions, carbon dioxide gas, and basic geology, all wrapped up in an activity that costs very little and takes less than an hour to set up.
In this guide, you’ll learn how to make a volcano for kids, including the materials you need, step-by-step instructions, the science behind the eruption, safety tips, cleanup advice, and creative experiments to make the activity even more educational.
💡 Key Takeaway: A baking soda volcano is an easy, low-cost way to combine creativity, chemistry, and hands-on learning in one fun activity.
🎯 Target Age Range: Ages 5–12 (elementary school kids)
The Science Behind a Baking Soda Volcano
Before you start building, it helps to understand what’s actually happening inside the bottle-because the real magic here is chemistry, not magic at all.
A real volcano erupts when magma rises beneath Earth’s surface and pressure, dissolved gases, and other geological forces help drive molten rock through a vent. A homemade volcano is only a model and does not reproduce the geological process of a real volcanic eruption.
The eruption in this experiment comes from a simple acid-base reaction. Baking soda, also called sodium bicarbonate, is a base, while vinegar contains acetic acid. When they mix, they react and produce carbon dioxide gas.
That gas forms bubbles throughout the liquid. Because dish soap traps some of those bubbles, the reaction creates a thick, foamy mixture that flows out of the bottle like colorful lava.
Adding a few drops of food coloring makes the foam look more like lava, while dish soap makes the eruption more dramatic and longer-lasting.
This experiment is also a great way to show kids that exciting chemical reactions don’t need fire or electricity. Sometimes, a few everyday kitchen ingredients are enough to create a memorable science lesson.
What Kids Can Learn
During the experiment, children can explore:
- Chemical reactions
- Acids and bases
- Carbon dioxide gas
- Cause and effect
- Observation and prediction
- Basic geology and volcano vocabulary
💡 Science Tip: Explain that the homemade volcano is a model of an eruption, not an exact recreation of how real volcanoes work. This helps kids understand the difference between a classroom model and a natural geological process.
Safety First
The baking soda volcano uses common household ingredients and is generally a low-risk science activity, but a few simple precautions can make the experience safer and easier to manage.
👨👩👧 Adult Supervision Matters
Younger children should have an adult nearby to help measure and pour the ingredients. Older kids can handle more of the setup independently, but adult supervision is still recommended during the eruption.
🧻 Protect Your Workspace
This project is designed to get messy. Set up the volcano outdoors when possible, or place it on a large tray, baking sheet, or protected table.
Keep paper towels or a damp cloth nearby for quick cleanup.
🥽 Protect Eyes From Splashes
Vinegar can irritate the eyes if it splashes. Children who are pouring ingredients or watching the eruption from close range can wear inexpensive safety goggles.
🚫 Don’t Taste the Mixture
Even though baking soda and vinegar are common kitchen ingredients, the finished volcano mixture contains dish soap and food coloring. It should not be tasted or swallowed.
🧼 Check Craft Materials
If you’re making the volcano structure with flour-based dough, check for relevant food or material sensitivities before children handle it.
⚠️ Safety Tip: Keep faces away from the bottle opening during the eruption, and never seal the bottle or container after adding the ingredients.
Materials Needed
One of the best things about this kids’ volcano experiment is that you probably already have many of the materials at home.
For the Volcano Structure
- A plastic bottle: A small water bottle or 16–20 oz soda bottle works well as the center of the volcano.
- A cardboard base or tray: Keeps the volcano stable and helps contain the mess.
- Sculpting material: Choose air-dry clay, papier-mâché, playdough, plaster of Paris, or flour-salt dough.
- Craft paint: Acrylic or poster paint works well for decorating the volcano.
- Paintbrushes: Useful for adding colors and details.
- Optional landscaping extras: Small toy trees, rocks, or figures can make the scene more realistic.
For the Eruption
- Baking soda: About 2–3 tablespoons per eruption.
- Vinegar: Roughly ½ cup per eruption.
- Dish soap: A good squeeze helps create thicker foam.
- Red or orange food coloring: A few drops create a classic lava color.
- Funnel: Makes it easier to add ingredients to the bottle.
- Warm water: Optional, mainly useful for thinning mixtures or making sculpting dough.
💡 Budget Tip: You don’t need special science equipment. Most of these materials are inexpensive household or craft supplies.
How to Make a Volcano for Kids: Step-by-Step
Now for the fun part-building and erupting your homemade volcano. Follow these steps in order for an easy and successful baking soda volcano experiment.
Step 1: Set Up the Base
Place your empty plastic bottle upright in the center of a cardboard base, tray, or baking sheet.
If the bottle wobbles, secure the bottom with tape before building the volcano around it.
Step 2: Shape the Mountain
Mold your chosen material-such as clay, dough, or papier-mâché-around the bottle to create a mountain shape.
Keep the bottle opening completely clear so it can serve as the crater.
If you’re using dough or papier-mâché, allow the structure to dry completely before painting or erupting it. Depending on the material, this may take several hours or overnight.
Step 3: Paint and Decorate
Once the volcano is dry, paint it with a base color.
Use browns, grays, greens, and other natural colors to create a mountain landscape. You can also add red or orange streaks around the crater to represent flowing lava.
Let kids add toy trees, rocks, small figures, or other decorations.
Step 4: Add the Baking Soda
Spoon 2–3 tablespoons of baking soda into the bottle opening.
Then add a squeeze of dish soap and a few drops of red or orange food coloring.
Step 5: Add the Vinegar
Pour about ½ cup of vinegar into the bottle.
Add it fairly quickly for a more immediate foamy eruption, or more gradually if you want to observe how the reaction develops.
Step back and watch the colorful foam flow down the sides of the volcano.
Step 6: Repeat the Eruption
Once the reaction finishes, rinse the bottle and prepare another batch with fresh baking soda and vinegar.
You can repeat the experiment several times.
🌋 Experiment Tip: Before each eruption, ask kids to predict what will happen. Making a prediction first turns a fun activity into a simple scientific investigation.
Fun Volcano Variations & Experiments
Once you’ve mastered the classic eruption, you can turn the activity into a more advanced kids’ science experiment by changing one variable at a time.
1. Test Different Baking Soda and Vinegar Ratios
Try different quantities of baking soda and vinegar.
Ask kids:
- Does more baking soda create more foam?
- Does adding more vinegar change the eruption?
- Which combination creates the longest-lasting reaction?
- What happens when you change only one ingredient?
Have children make a prediction before each test and record the result.
2. Compare Reaction Speeds
Try vinegar at different temperatures and compare how quickly the reaction begins.
Children can use a stopwatch to measure the eruption and record their observations.
3. Try a Mentos and Soda Geyser
A Mentos-and-soda experiment creates a dramatic geyser, but it works differently from the baking soda volcano.
Instead of an acid-base chemical reaction, the geyser is mainly caused by rapid carbon dioxide bubble formation and nucleation in the carbonated drink.
This makes it a useful comparison when teaching kids that not every dramatic reaction or eruption is caused by the same process.
4. Experiment With Oobleck
Mix cornstarch and water to create oobleck, a fascinating non-Newtonian mixture.
You can color it and use it as a creative alternative or additional sensory activity alongside your volcano.
5. Build Multiple Volcanoes
Let children build their own volcanoes and test the same ingredients in each one.
They can compare:
- Eruption height
- Amount of foam
- Eruption duration
- Volcano design
- Different ingredient ratios
This is a simple way to introduce controlled experiments and data collection.
🔬 Science Tip: For a fair test, change only one variable at a time. If you change the vinegar amount, temperature, and baking soda amount simultaneously, it becomes harder to know which change caused the result.
Turn the Volcano Into a Learning Activity
With a little extra structure, this project can become more than a one-time fizzy spectacle. It can introduce children to scientific thinking, vocabulary, observation, and experimentation.
Create a Simple Science Fair Project
If your child needs a school science project, a baking soda volcano can be a great starting point.
Help them create a simple hypothesis, such as:
“I think changing the amount of baking soda will change the size of the eruption.”
Then identify the variable being tested and record the observations.
Children can create a simple chart showing:
| Test | Baking Soda | Vinegar | Result |
|---|---|---|---|
| 1 | 1 tbsp | ½ cup | Record observation |
| 2 | 2 tbsp | ½ cup | Record observation |
| 3 | 3 tbsp | ½ cup | Record observation |
Ask Science Questions
Before and after the eruption, ask kids questions such as:
- What do you think will happen when we mix these ingredients?
- Why do bubbles form?
- Where does the gas come from?
- How is this model similar to a real volcano?
- How is it different from a real volcano?
- What might happen if we use more or less of an ingredient?
Introduce Volcano Vocabulary
This activity is a natural opportunity to teach science vocabulary in context:
- Magma: Molten rock beneath Earth’s surface.
- Lava: Molten rock that reaches Earth’s surface.
- Eruption: The release of material through a volcanic vent.
- Crater: A depression around or near a volcano’s opening.
- Chemical reaction: A process in which substances interact and form new substances.
- Carbon dioxide: The gas produced during the baking soda and vinegar reaction.
Connect the Model to Real Volcanoes
After the experiment, show children pictures or educational videos of real volcanic eruptions.
You can also introduce famous volcanoes such as Mount Vesuvius and Kīlauea and discuss how real eruptions differ from the homemade model.
🎓 Learning Tip: Encourage children to explain the experiment in their own words. Asking them to describe what happened is often more valuable than simply memorizing scientific terms.
Cleanup Tips
The eruption is fun, but cleanup doesn’t have to be difficult. A little preparation can make the process much easier.
Prevent the Mess Before It Happens
Place the volcano on a large tray, baking sheet, or shallow plastic bin to catch overflow.
For indoor experiments, use a plastic tablecloth, newspaper, or another protective covering.
Take the Experiment Outside
If possible, perform the eruption outdoors on a patio, driveway, or another suitable surface.
This gives the foam plenty of space to flow and makes cleanup easier.
Wipe Up Spills Quickly
Keep a damp cloth or paper towels nearby.
The vinegar and baking soda mixture is generally easy to wipe away while it is still wet, so cleaning between eruptions can prevent residue from drying.
Rinse the Bottle
After an eruption, rinse the inside of the bottle with warm water to remove leftover mixture.
This helps keep the bottle ready for another experiment.
Store the Volcano
If the volcano structure is made from sturdy clay, papier-mâché, or another durable material, let it dry completely before storing it.
Keep it in a dry place so you can use it again later.
🧹 Cleanup Tip: Put the volcano on a tray before the first eruption. This one simple step can save a lot of cleanup time.
Frequently Asked Questions
Can I Make a Volcano Without a Plastic Bottle?
Yes. A plastic bottle is convenient because its narrow opening makes it easy to contain and dispense the eruption mixture, but you can use other suitable containers.
A small plastic cup or jar can work as long as it is stable and appropriate for the experiment.
How Many Times Can I Reuse the Volcano?
You can reuse the volcano structure many times.
The clay, dough, or papier-mâché mountain itself does not get consumed during the reaction. Simply rinse the container and add fresh baking soda, vinegar, dish soap, and food coloring for another eruption.
Is This Volcano Experiment Safe for Toddlers?
The ingredients used in the basic experiment are common household materials, but young children need close adult supervision.
Adults should handle measuring and pouring for very young children and make sure the mixture is not tasted or splashed into their eyes.
What’s the Best Ratio of Vinegar to Baking Soda?
There isn’t one universal “best” ratio because the result depends on the quantities, container, and other ingredients used.
A practical starting point is 2–3 tablespoons of baking soda and about ½ cup of vinegar.
The ratio itself can also become part of the experiment. Try different amounts and record which combination produces the most foam or the longest-lasting eruption.
Does Food Coloring Affect the Reaction?
Food coloring is mainly for appearance and does not play a significant role in the baking soda-vinegar reaction.
It simply gives the foam a more realistic lava color.
Why Does Dish Soap Make More Foam?
Dish soap helps trap the carbon dioxide bubbles produced during the reaction.
Instead of the gas escaping as quickly, the bubbles become incorporated into the soapy liquid, creating the thick foam that looks like flowing lava.
Is a Baking Soda Volcano the Same as a Real Volcano?
No. A homemade volcano is a simple educational model, while real volcanic eruptions involve magma, heat, dissolved gases, pressure, and complex geological processes beneath Earth’s surface.
The experiment is useful for demonstrating some ideas about gases and eruptions, but it does not reproduce the physical and chemical processes of a real volcano.
🌋 Key Takeaway: The homemade volcano is a model for learning-not a miniature version of an actual geological eruption.
Conclusion
The baking soda volcano remains a favorite kids’ science experiment for good reason. It’s inexpensive, easy to build, exciting to watch, and capable of introducing real concepts from chemistry and geology.
Whether you’re planning a rainy-day activity, preparing a school science project, or looking for a screen-free activity that encourages curiosity, learning how to make a volcano for kids is a simple place to start.
The best part is how flexible the project can be. Kids can enjoy a quick kitchen-table eruption or turn the activity into a deeper scientific investigation by testing ingredient ratios, measuring reaction times, building multiple volcanoes, and learning about real-world volcanoes.
So gather your baking soda, vinegar, dish soap, and craft supplies-and get ready for a little science, creativity, and colorful eruption. 🌋
🚀 Final Tip: Let kids predict, observe, record, and explain what happens. That’s what turns a simple volcano demonstration into a genuine hands-on learning experience.